

Mt. St. Helens is one of the most beautiful mountains in the Cascase Mountain Range. The history and beauty are unrivaled, and circumnavigating Mt St Helens, while challenging, is an incredible experience. The views are incredible; you’ll feel like you’re at the foot of Mt Rainier, you’ll see amazing views of Mt Adams and Mt Hood, and of the Cascade Mountain Range’s Goat Rocks.
This year, my friend Robert and I went around the mountain in 4 days. I have done the route in two days (I’ll provide this as an alternate itinerary below) but we chose a longer trip this year to enjoy the route, take a lot of photos, and relax a bit.
The trip around Mt. St. Helens (otherwise known as the Loowit Loop) contains everything you could want in a backpacking trip: water crossings, desert, lush forest, and even a few sections where you’re using a rope to rappel! If you’re looking for a trip to do in the summer in the Pacific Northwest, this one is great. I’ll detail the route we took below, but there are a lot of other options available.
Essentially, you’ll need to choose a trailhead to enter the loop from. There is no parking directly on the loop, unlike many other trails, but this shouldn’t scare you away. You’ll basically make it a balloon, where you enter/exit on the string and walk around the outside of the mountain. Last year, I entered at June Lake Trailhead, which is the shortest of the routes, but this year we went for the longest of the options: Ape Canyon.
Here’s the route we took over 4 days on Mt St Helens:
Day 1: Ape Canyon Trailhead to The Plains of Abraham. 6.36 Miles, 1918 foot gain
Day 2: The Plains of Abraham to Toutle River (Otherwise known as the Blast Zone). 10.82 Miles, 1206 foot gain
Day 3: Toutle River to Chocolate Falls 10.7 Miles, 3796 foot gain
Day 4: Chocolate Falls to Ape Canyon Trailhead, 10.53 Miles, 1934 foot gain
Day 1: Ape Canyon Trailhead to The Plains of Abraham
We got a bit of a later start than we had hoped for, but not much later than we actually expected. This is why I planned a lighter day for the first of our four day trip. You cannot camp between The Plains of Abraham and the North side of Toutle River (otherwise known as “The Blast Zone”). See Day 2 – you MUST do that day in one stint, so plan ahead. With this in mind, we aimed to camp at The Plains of Abraham, near Windy Ridge.
The Ape Canyon Trail is a slog on a narrow path through the forest, with the occasional view of Mt St Helens after a while. The Horse Flies were absolutely atrocious at this point in the year, every time we’d stop even for just a few seconds, we’d get bit. There were the occasional mountain biker or hiker on this trail.
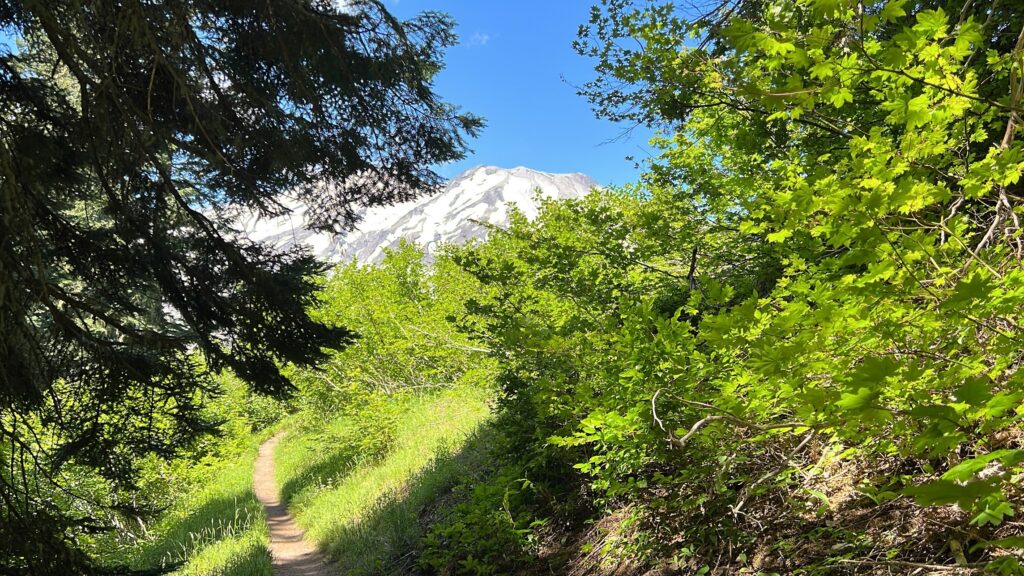
If I’m being perfectly honest, this trail isn’t all that it’s made out to be. I looked at the comments on AllTrails and Gaia, and people give this an incredible review, and I believe that it would be worth it for a day hike, if you’re not planning on getting all of the incredible views of the mountain for days. If this was a one day hike, I do think it would be more enjoyable, but you do spend a majority of your time in the forest with next to nothing for a view.
Once you’re very close to the Loowit loop, you get incredible views of the mountain as well as the surrounding ones, but the best part is right at the intersection, where you’ll see the giant crack in the huge rock, of what is Ape Canyon. You’ll get this view from the Loowit trail as well, so if you start at a different trailhead, you’ll not be missing out.
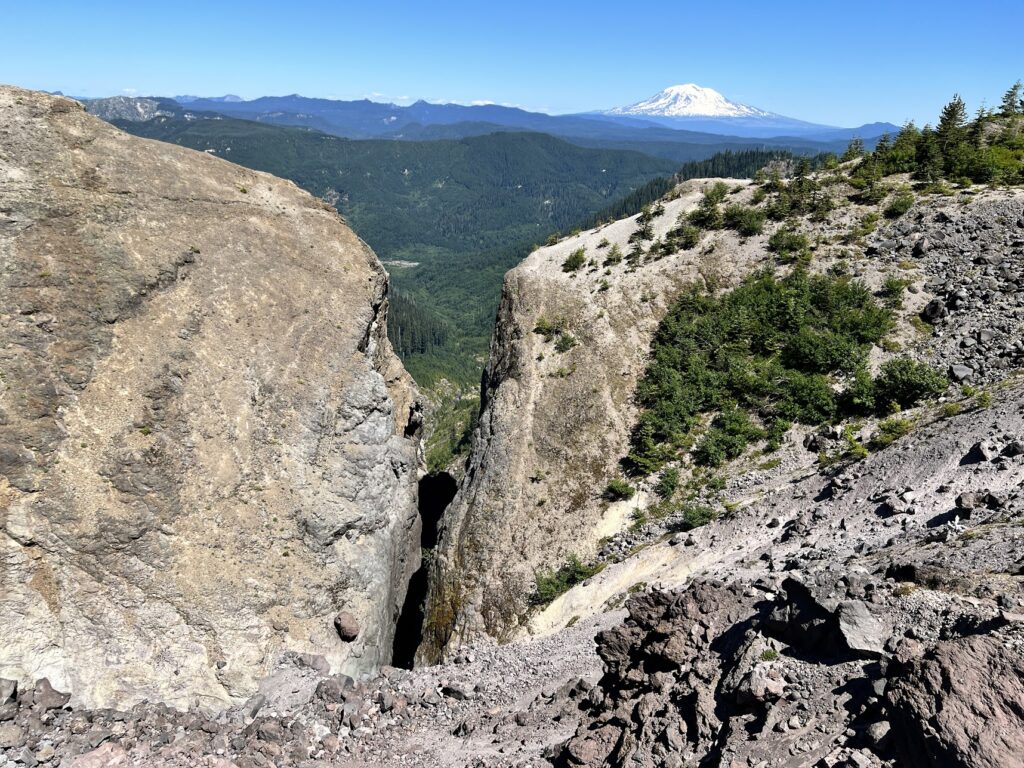
Our first water source came at the top, so make sure to carry as much water as you’ll need for over 5 miles. We each carried 2 liters and this was plenty.
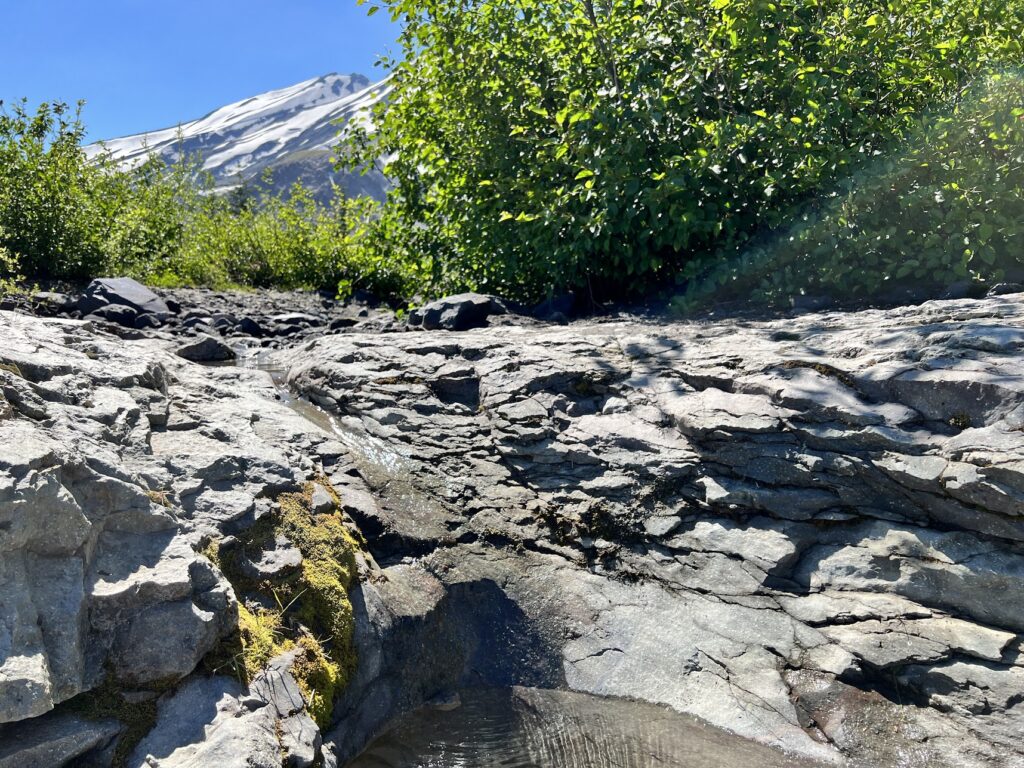
After taking a break, we made our way through the Plains of Abraham. There are incredible views of the mountain all through here, and it’s easy to keep a nice pace through here as there aren’t many elevation changes.
We got quite lucky. There was an incredible water source just a few hundred yards from the ascent into the blast zone for day 2, so we set up camp on some established tent pads a hundred feet from the water. We set up our tents in the wind, and about as soon as we started cooking our dinner, the wind died down and we were in for a real treat. We sat in our chairs and watched the sun go down for an incredible and colorful sunset.
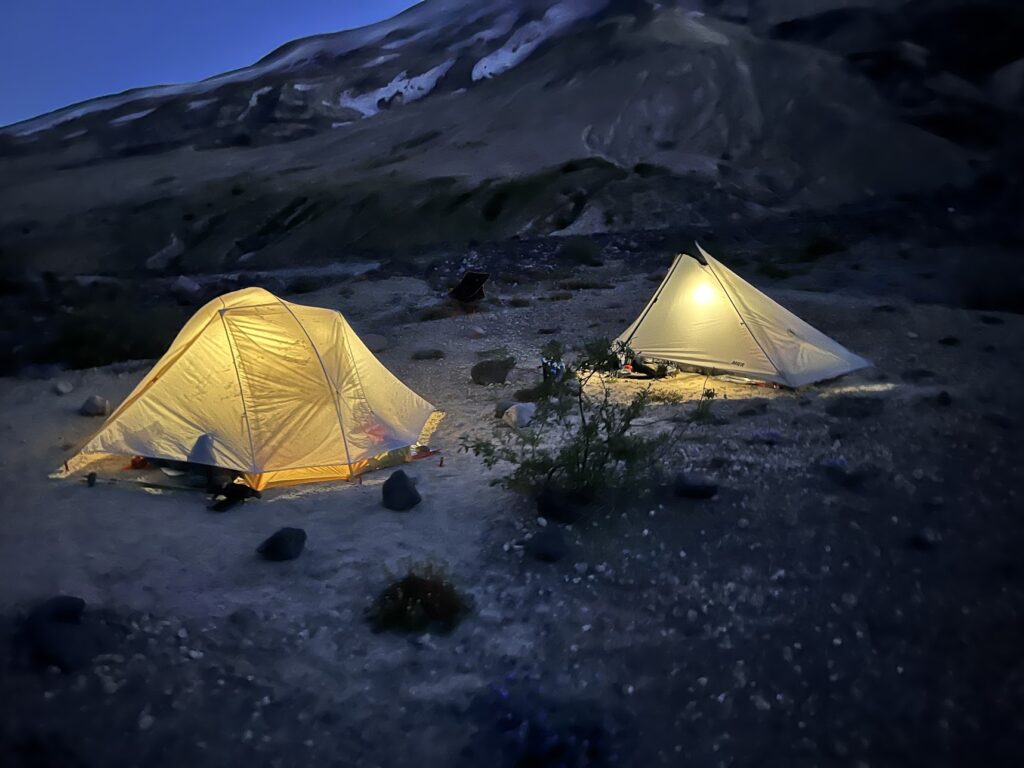
After the sun went down, we were treated to in incredible display of stars. We went to sleep, preparing for a long day two through the blast zone.
Day 2: The Blast Zone. The Plains of Abraham to Toutle River
The Blast Zone. This is the area which most defines Mt St Helens, since the eruption of the volcano back in 1980. Again, just to reiterate, you cannot camp in the blast zone. You must make this a day hike through the zone, ending on the South Side of the Toutle River. This area is absolutely incredible. It’s both barren and dry, as well as lush with wildflowers depending on where you are in the zone.
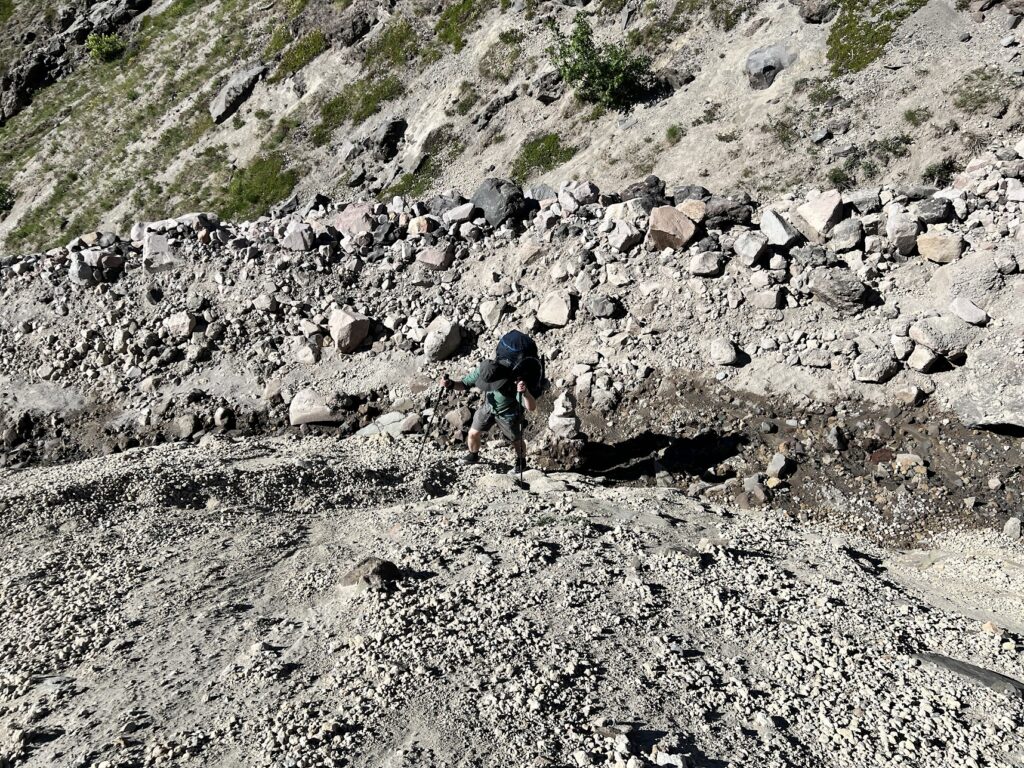
The day starts out with a pretty brutal climb out of The Plains of Abraham and into the Blast Zone. You climb pretty much straight up a very crumbled hill, essentially making your way up a scree slope. Luckily there’s not an incredible amount of elevation gain here, but it takes a bit of energy right to start.
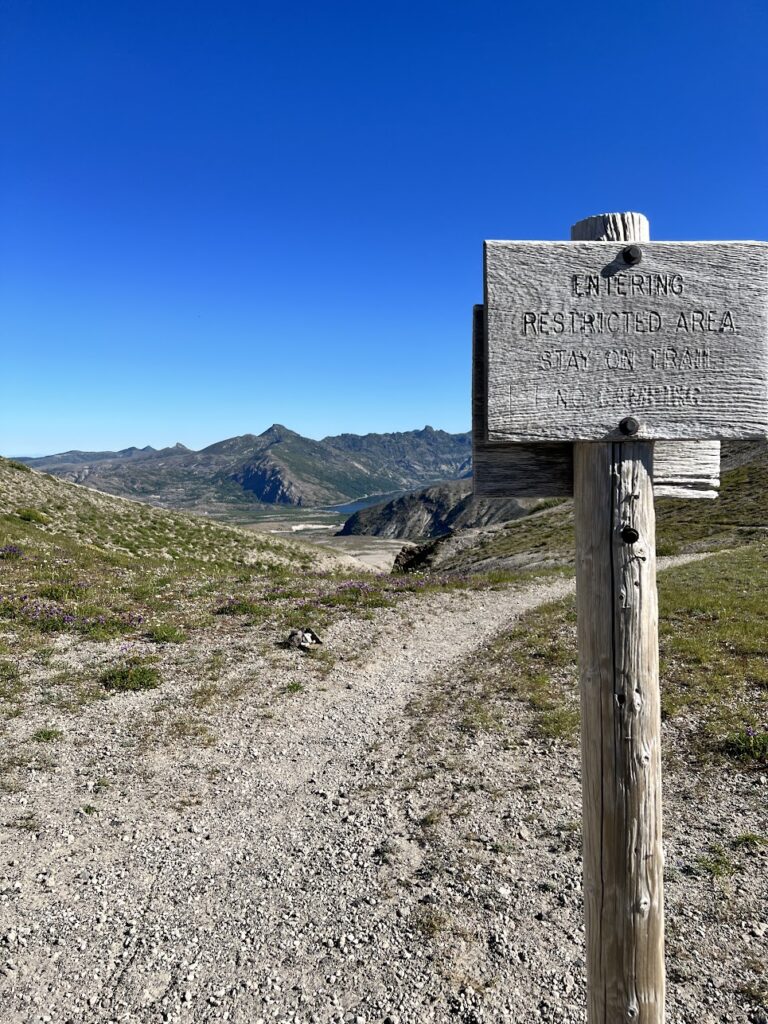
Once you’re at the top, you’re greeted with a sign reminding you to both stay on the trail, as well as not to camp, but just beyond the sign, you’ll see Spirit Lake off in the distance. If you don’t know the history with Truman here, I’d highly suggest you give this a quick read.
Making our way through the blast zone, it’s incredible to see all of the newly growing flowers and trees. In the grand scheme of it all, everything in here is under 40 years old. We both had loaded up 3 liters of water, not knowing when our next water source would come, but there’s actually plenty of water throughout the trail, and if I were to do it again, I would simply carry 1 liter of water up the initial climb and then once I got to the first source of water just a few miles in, I’d drink a bunch and then carry 1.5 liters.

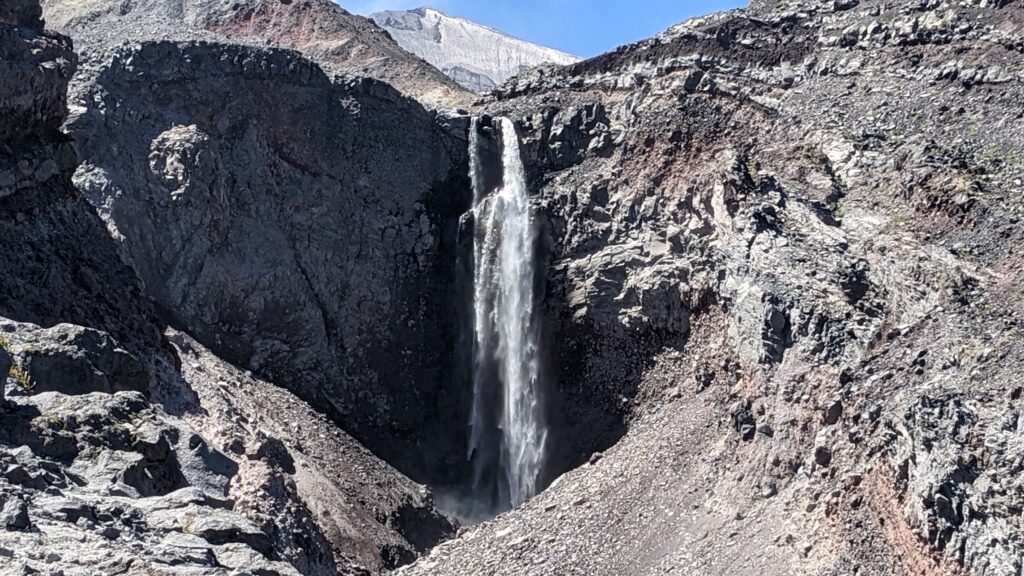
We decided to take a detour to Loowit falls, which added about a mile to our day, but was very much worth it. Another hindsight, I wish we had dropped our bags right off of the Loowit loop trail, considering the path to the falls is straight elevation gain, but luckily it’s not too far. We took a break at the top of the trail, then headed back down to meet back with the Loowit loop.
As you continue along the loop, you’ll see many incredible views. There are washed out river beds, many wildflowers, and a lot of small ups and downs (elevation-wise). Eventually you leave what feels like the blast zone, but you’re still in the restoration area, and still cannot set up camp. You’ll end up not even feeling like you’re in the same biome any longer, with much more greenery coming to view.
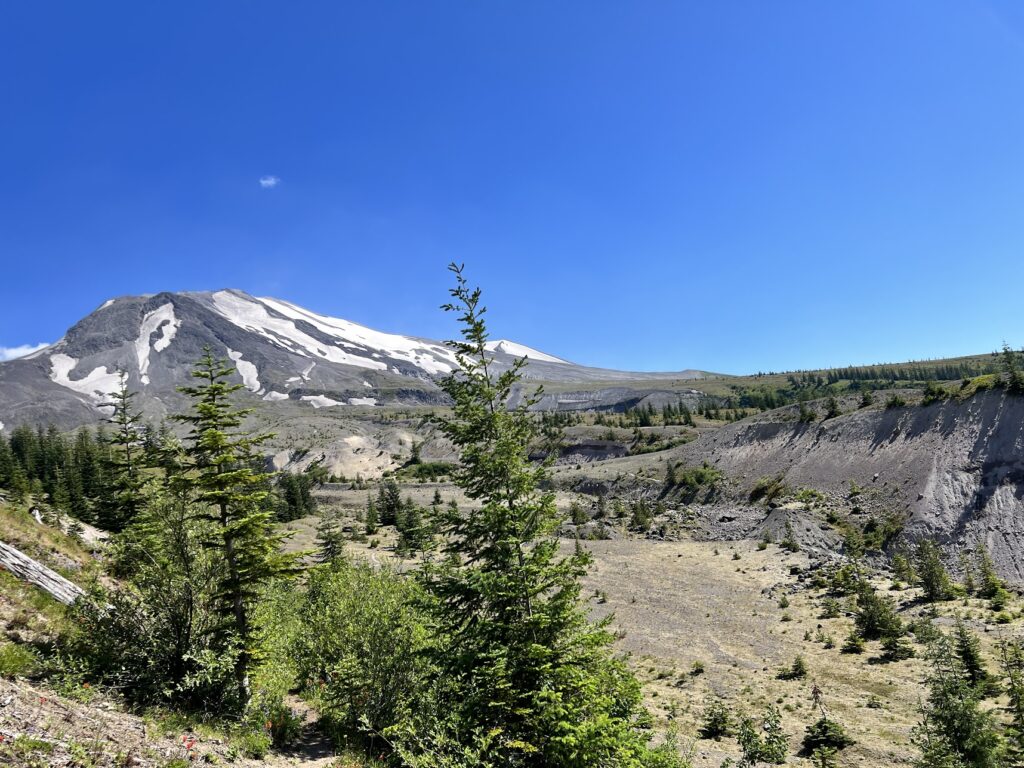
Once completely through, you’ll continue marching through some decent elevation gains and losses as you’re walking along the veins of the mountain. Continue doing this for some time. You’ll eventually come to the biggest descent yet, which is down to the Toutle River.
Once you finish your descent, you’ll be met with a cliff which you’ll need to rappel in order to ford the river. This is one of two sections in which you’ll need the assistance of the rope. We both packed our trekking poles away and made our way down the ropes into the river, which was perfectly clear and cold. Luckily this year, the ropes felt brand new. I’ve been here before when the ropes were completely tattered and tied up.

Once at the bottom while fording the river, stock up on your water, because you’ve got one last push before setting up camp. Because of the rules, you’re not allowed to camp on the North side of the river, and you must camp 100 feet away from water, so you’ve got to climb the rope on the other side. To avoid multiple trips, stock up on all the water you’ll need for tonight’s stay and for tomorrow’s trek, because there’s not much water on day 3.

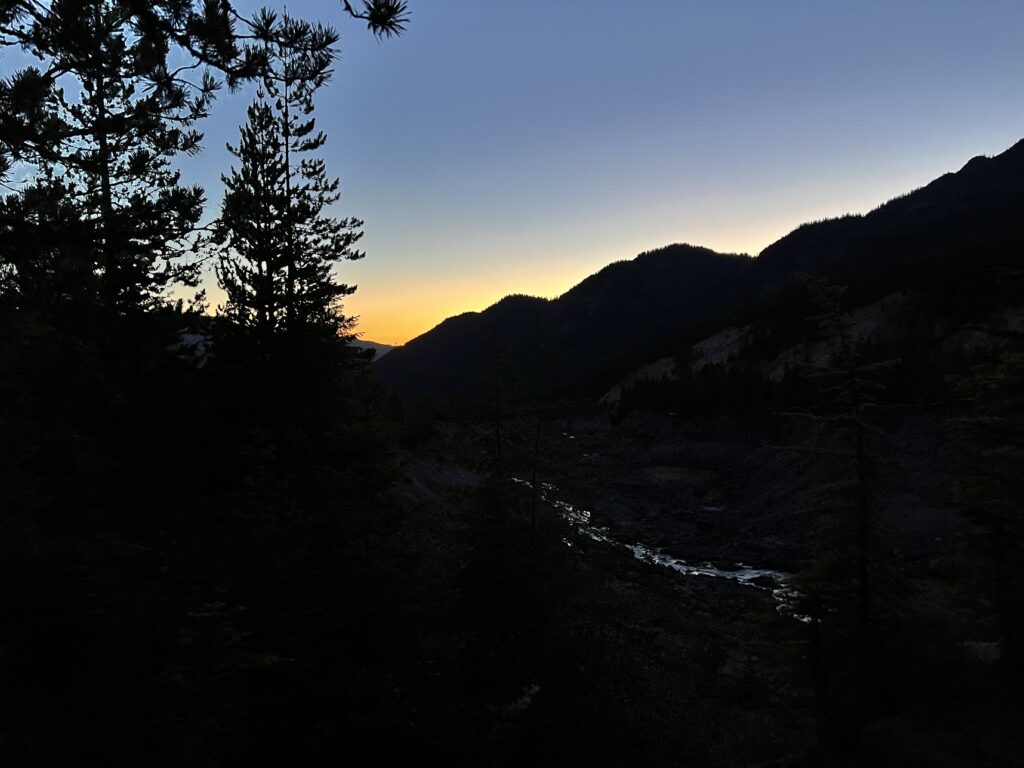
Once you’ve made your way to the camping area, set up your tents and enjoy an incredible sunset over the river. It’s absolutely unrivaled. Luckily for us, there was nearly a complete lack of bugs and wind. It was incredibly calm and the stars were out once again in full force once the sun went down.
Day 3: Toutle River to Chocolate Falls
Day 3 starts with a grueling uphill climb, and it never stops. Today, you’ll get a nearly complete lack of water, it’s got quite the elevation gain, and you’ll be crawling slowly over rocks. This is the most difficult day, hands down. We were told by two groups of people that there was water in a few places, especially early in the trail. Because of this, we didn’t bring much water, knowing that there was a brutal climb to start the day.

Little did we know, that these people had been at the end of the trail late in the day, when the snow was actually melting. We came across two different groups of people, asking them if there was any water, and were told by both of them that our next source of water was at June Lake. Our initial plan was to stay at June Lake, and one of these groups of people told us that the bugs were unreal and that didn’t excite either of us. For us, sadly, we were both down to less than a half a liter of water with nearly a full day’s hiking left, so we started rationing our water and popping electrolytes.
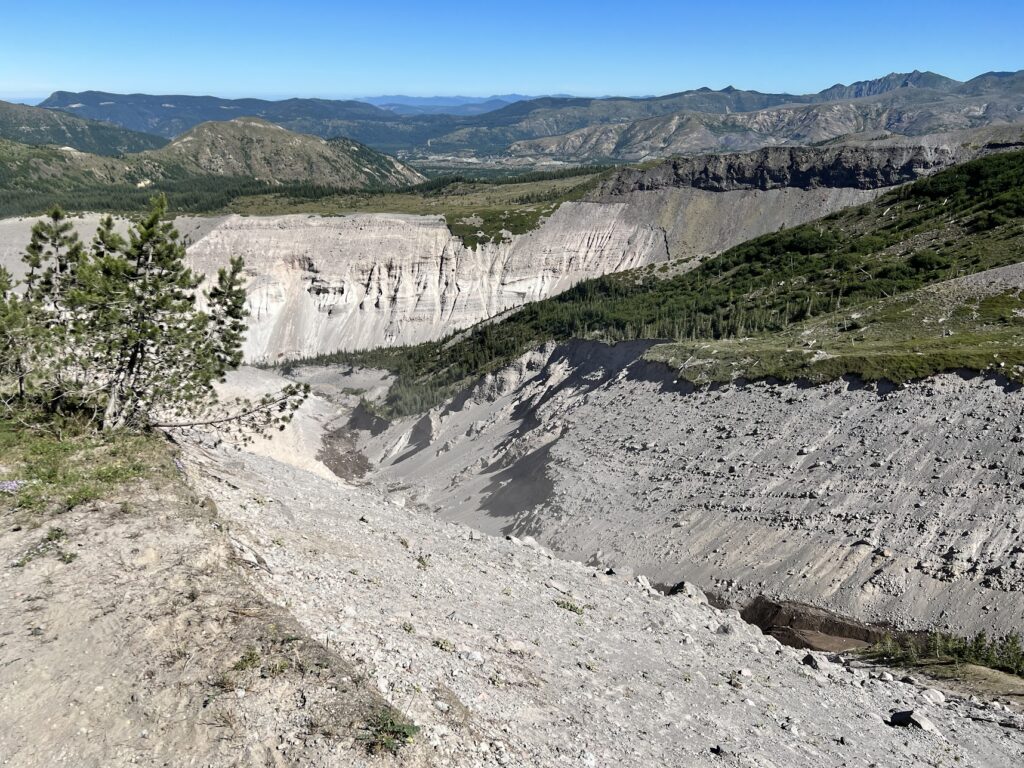
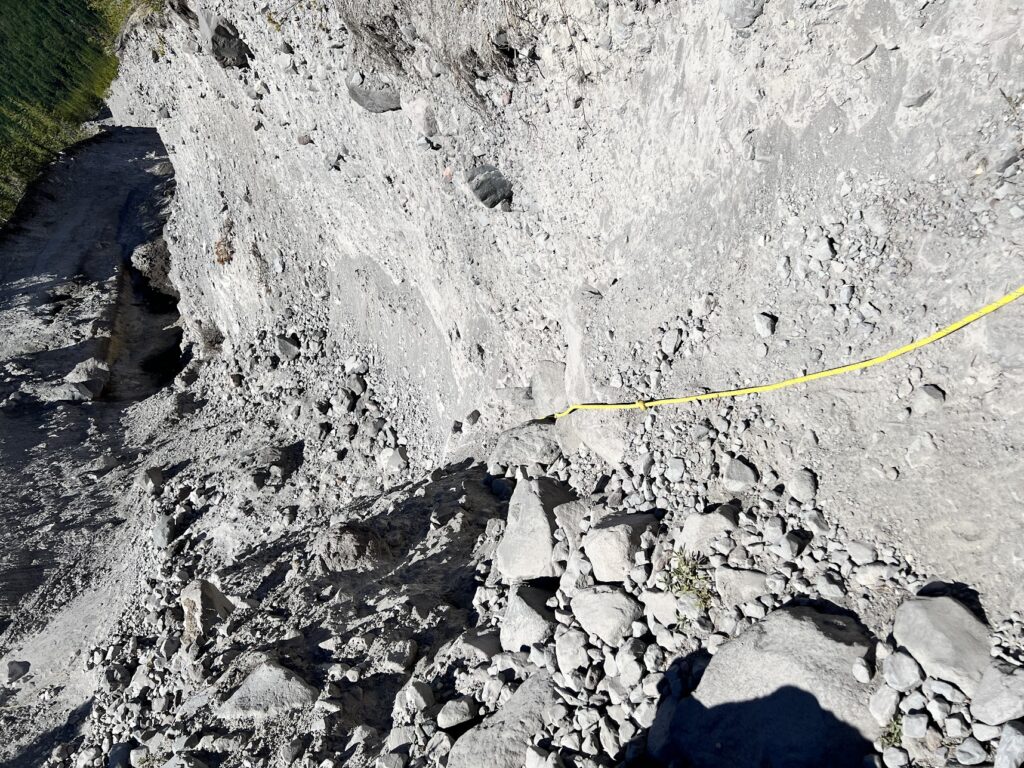
There’s one more rope which needs to be climbed today. This one isn’t as bad, and it takes you into a dry riverbed. The ground is much more crumbly, I had a rock fall out from under me, but luckily I had a solid grasp on the rope and it didn’t effect me at all. Again here the rope was in great condition, so it was a nice change from the last time I did this loop and the rope was pieced together where the frays happened.
At this point in the day, we were getting quite ready for a good drink of water, and we started coming across small snow patches 30-50 feet off the trail. We had discussed stopping to melt snow into water, but pressed on for a few minutes until coming across a larger patch of snow which ended right at the trail. Not wanting to pass up what could potentially be our last opportunity for water for the day, we decided to sit down and start melting.
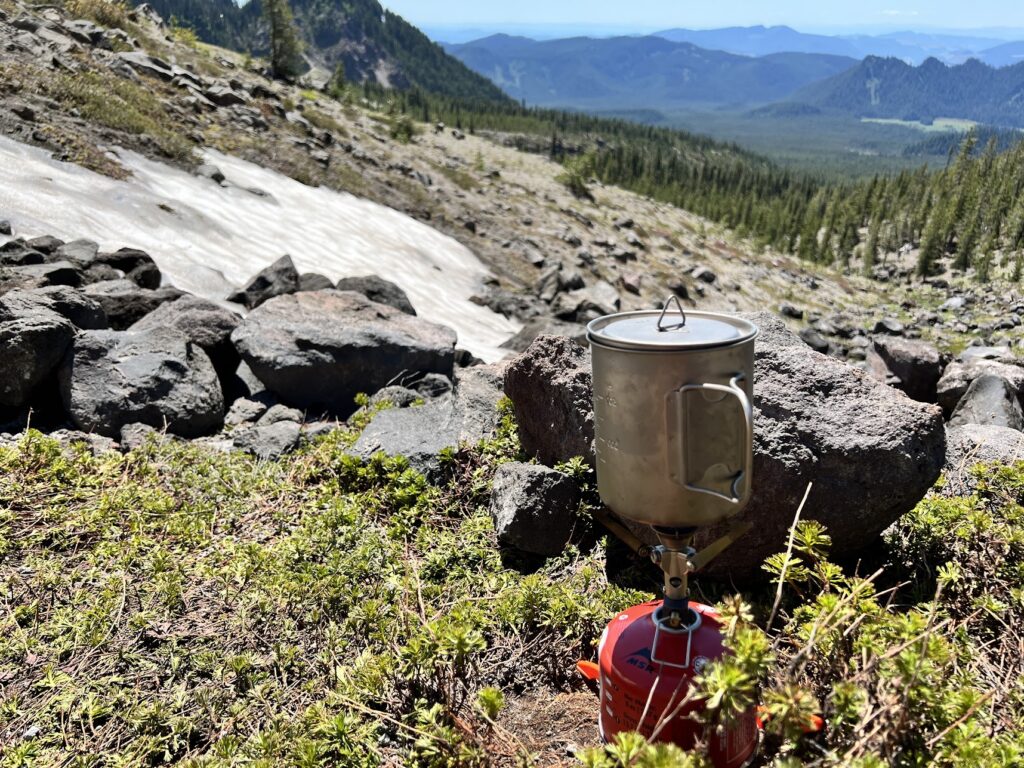
We scraped the dirty snow off the top, and started feeding the stove with snow. We got a system down fairly quickly, where we would gather snow in one pot and sprinkle it into the second pot. All in, this took us roughly 45 minutes to melt 6 liters of water. As we were pouring our final melted cup of water through the filter, a guy walked by us and told us that there was a great water source just a few miles ahead. We felt like screaming, but hey, at least we got water and a break!
We pressed onward, and very shortly came across our first boulder field. There are three of these while circumnavigating St Helens on the Loowit Loop. These are incredible to look at. Understanding the history in which these came is incredibly cool, the eruption essentially blew all of these rocks to the opposite side of the blast zone.
The path goes upward, but there’s no real path here so to speak. You can watch for lighter grey spots, which mark where a lot of people step, but for the most part, getting from A to B is up to you. You just keep your eyes out for a lot of these posts, which mark the direction of the official trail.

The friendly passer-by that we had just seen was right, it wasn’t too long until we found a great source of water right on the trail. Neither of us needed water at this point since we had just filled up, but we took the opportunity to soak our faces and cool down.

You’ll come across this a lot on St Helens while doing the Loowit Loop: water sources that come and go based on the sun exposure. When the first two groups passed us by, they had come across this spot early in the day and therefor didn’t see any running water. The last guy we saw came across it later, so it was running for him.
The allure of boulder hopping fairly quickly goes away as you’re spending miles basically jumping from rock to rock, never really catching a break to walk at a normal pace. Don’t let the mileage fool you, you will be walking slower through this section.
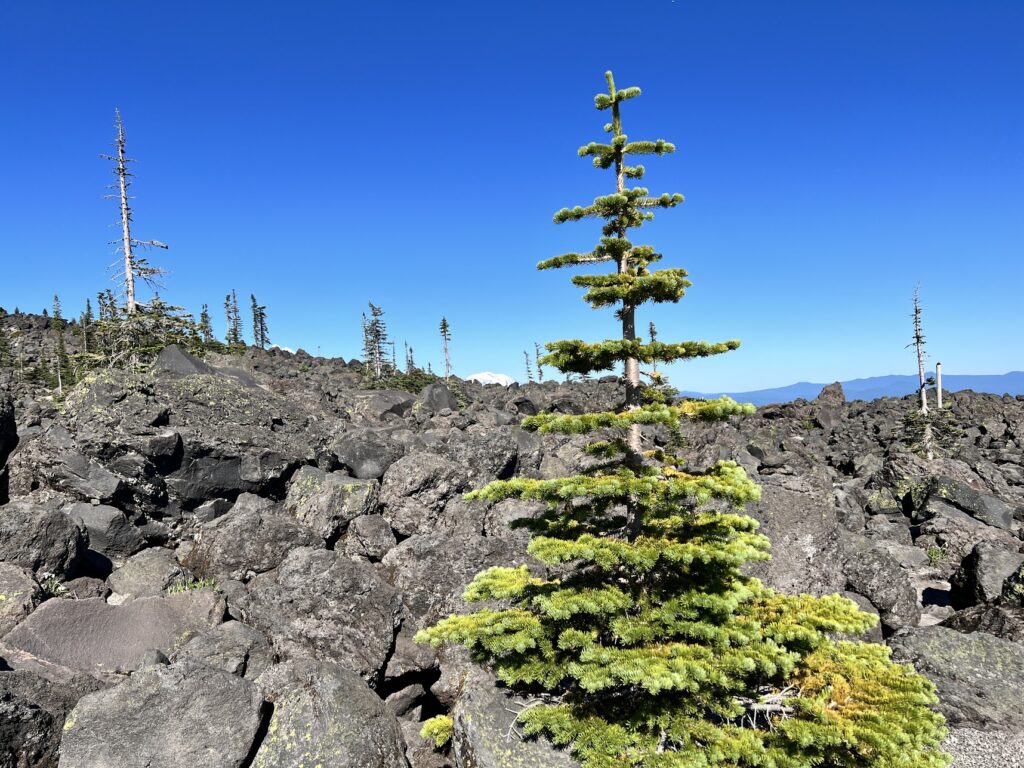
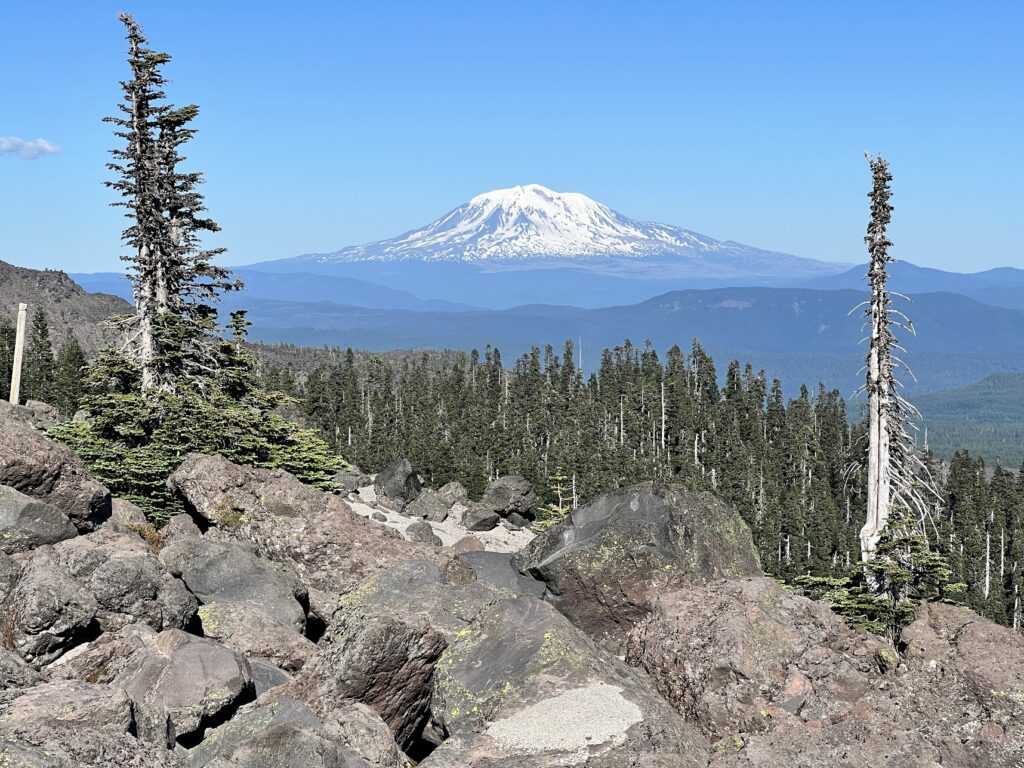
As you come over one of the veins covered in boulders, you’ll start being able to see Mt. Rainier again, and as you continue to move your way counterclockwise, it just keeps getting larger and more pronounced. It’s incredible knowing it’s about 50 miles away (as the crow flies) but you feel like you’re right at the foot of the mountain.
As we finished our second set of boulders, we came across Chocolate Falls. We decided to fill up with water here, as we had been exhausted by the heat from the day and hopping across large boulders for hours. While filling up, we noticed something: a near complete lack of bugs. Knowing that just a few miles away at June Lake would be a ton of mosquitos, we decided to change our plans and camp for the night here instead.


The water was flowing very solidly and we took this opportunity to camel up on a bunch of water, and we loaded up with all of the water we could carry, knowing that the water source may disappear by morning.
There’s a wonderful ledge which you can sit at while eating your dinner and watch the sunset. Mt. Hood is visible in the distance, and the serenity of it all will really kick in while relaxing by the falls at sunset.
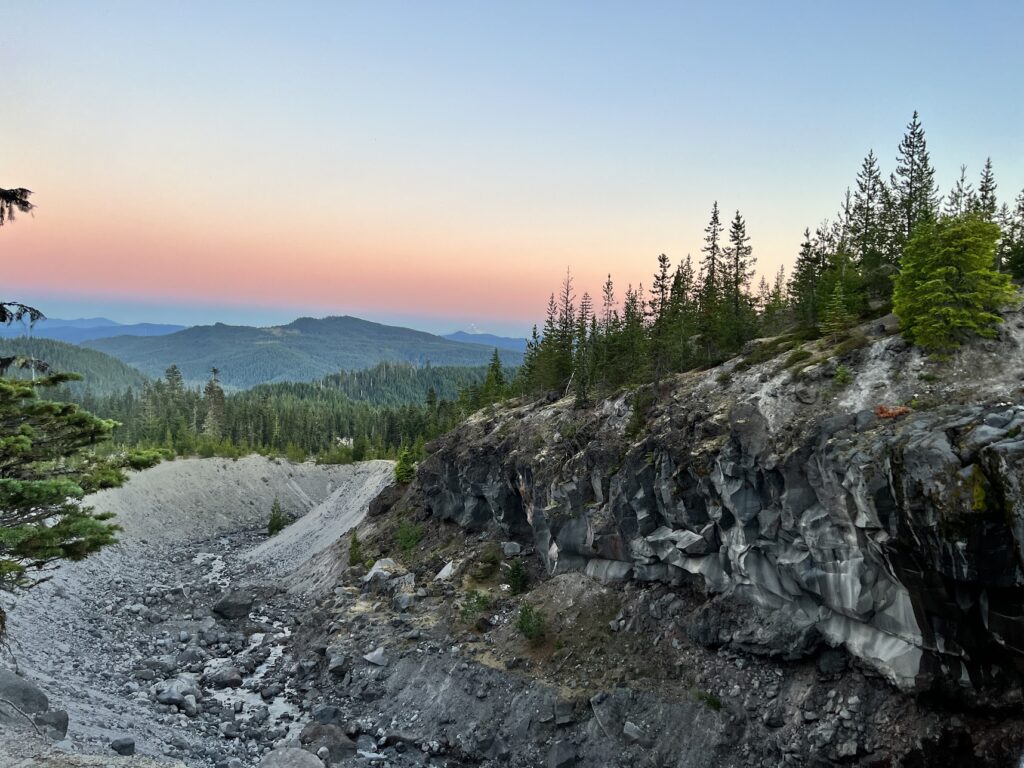
Day 4: Chocolate Falls to Ape Canyon Trailhead
Since we decided to stop at Chocolate Falls, we needed to pass through one more boulder field before getting on with our day. Fortunately, this one wasn’t so bad, in terms of elevation gain, but it was still quite long. One thing to note, the falls were barely at a trickle by the time we woke up at 5am. By 6am there was no water falling at all, and when I went to top up my water, I was simply scooping it from some low spots in the rock, it wasn’t flowing at all. Luckily I just needed about a half liter, so it wasn’t too bad.

Once you’re past the final boulder field, it’s really not far at all until the June Lake trail junction.
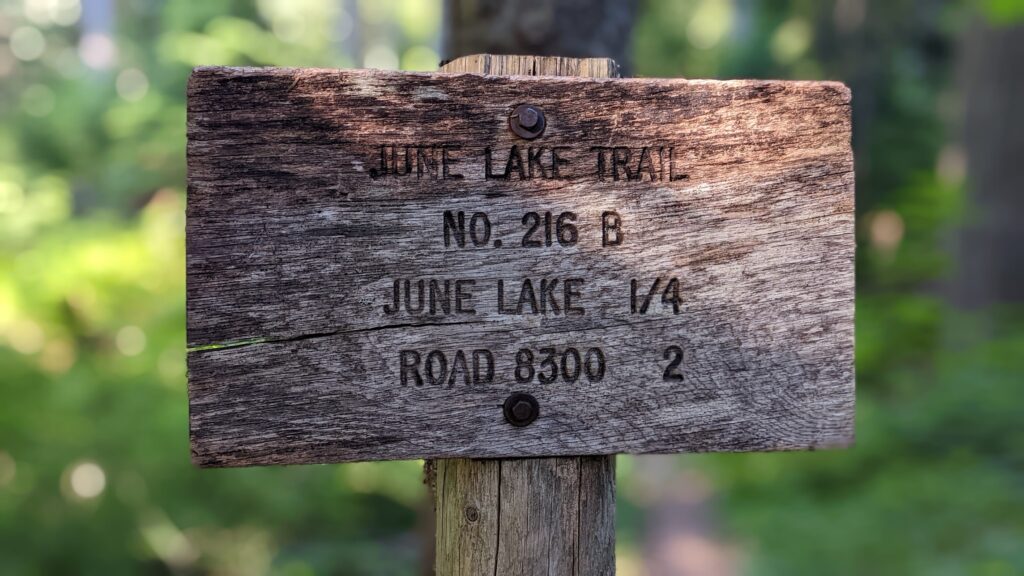
If you are low on water, make sure to stock up at June Lake. There isn’t a water source until you’re nearly back at the Ape Canyon Trailhead. We both were still doing well, so we elected to skip it. The downside to doing this is that you do not get to see June Lake or the falls. You can hear it, but you can’t see it.
You’ll still be walking through a lot of boulders here, but fortunately the trail is very prevalent and you’re not hopping on boulders any longer, the boulders are just on the sides of the trail. Today isn’t nearly as much elevation gain, but after 4 days on the trail, it can still be exhausting. You’re back to the side of the mountain with amazing views of other mountains in the Cascades as well.
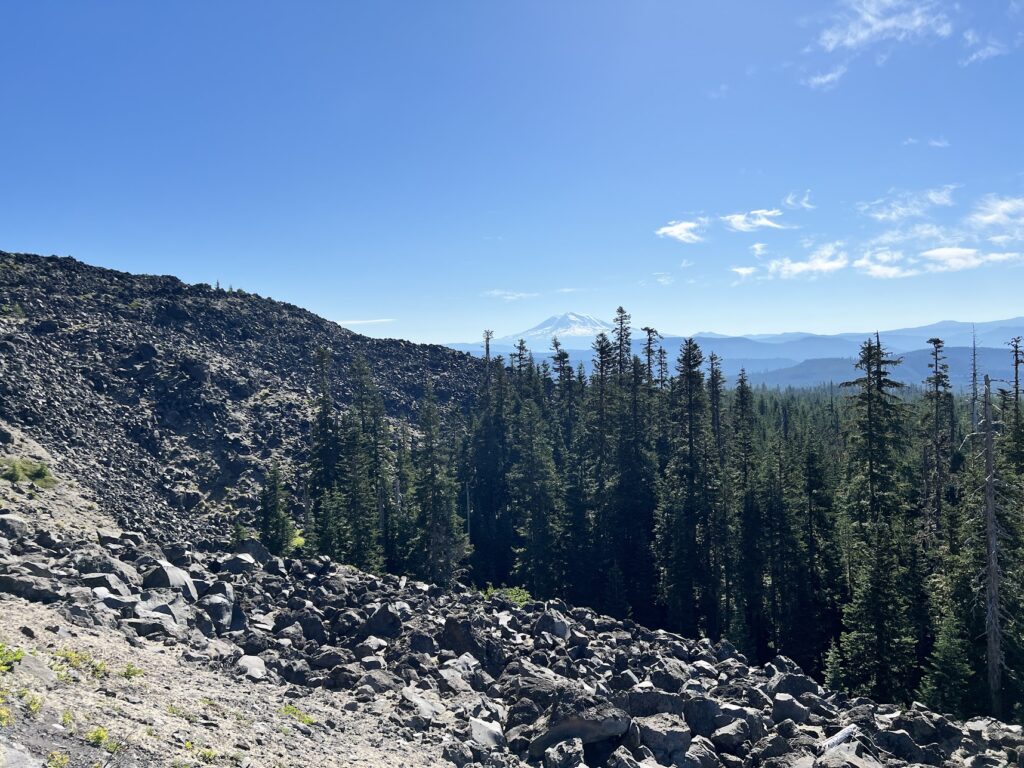
As you’re walking, you’ll continue to see Mt. Adams, Mt. Hood, and Mt. Rainier, and the temptation to stop every 10 seconds for a photo will be overwhelming.
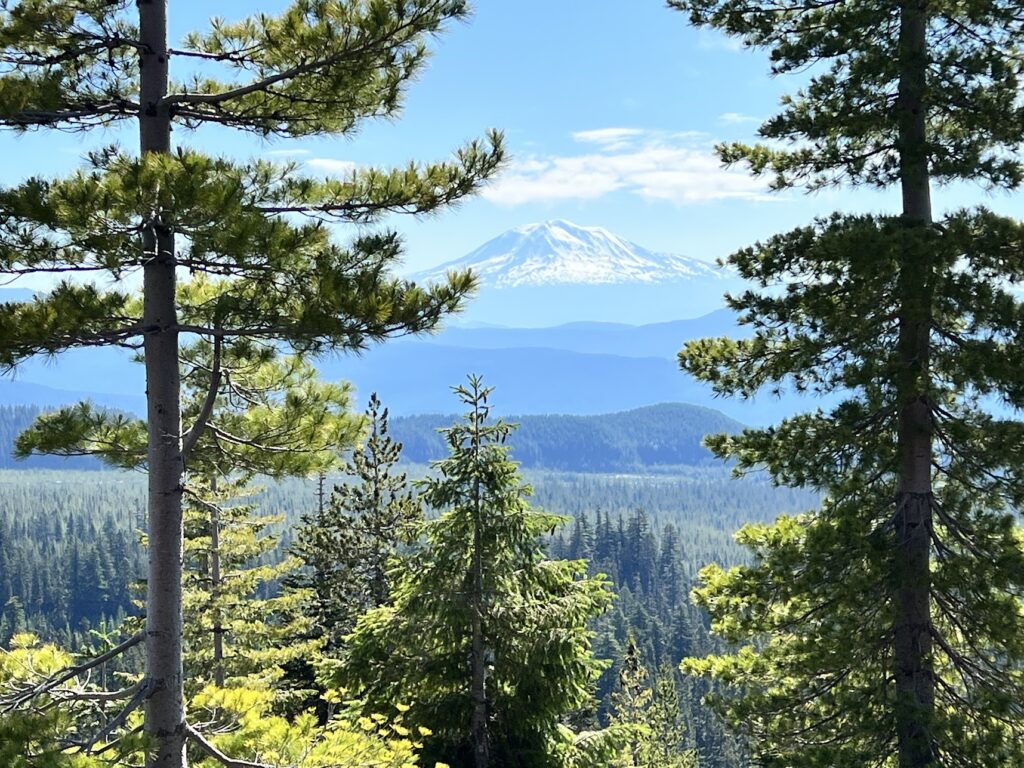
Today’s journey is unremarkable in terms of a text description, but is every bit as beautiful as the rest of the mountain. It’s on this side where you come across seemingly never-ending fields of berries. Sadly, they weren’t ripe at the time we went. If you know what kind of berries these are, can you let me know? I believe them to be wild blueberries.

You’ll continue to go through some veins up and down, but again today’s elevation gain is trumped by the elevation loss. You’ll make your way around the mountain, relishing in the views until you’re back at the Ape Canyon trailhead, and you’ll see a familiar sight.
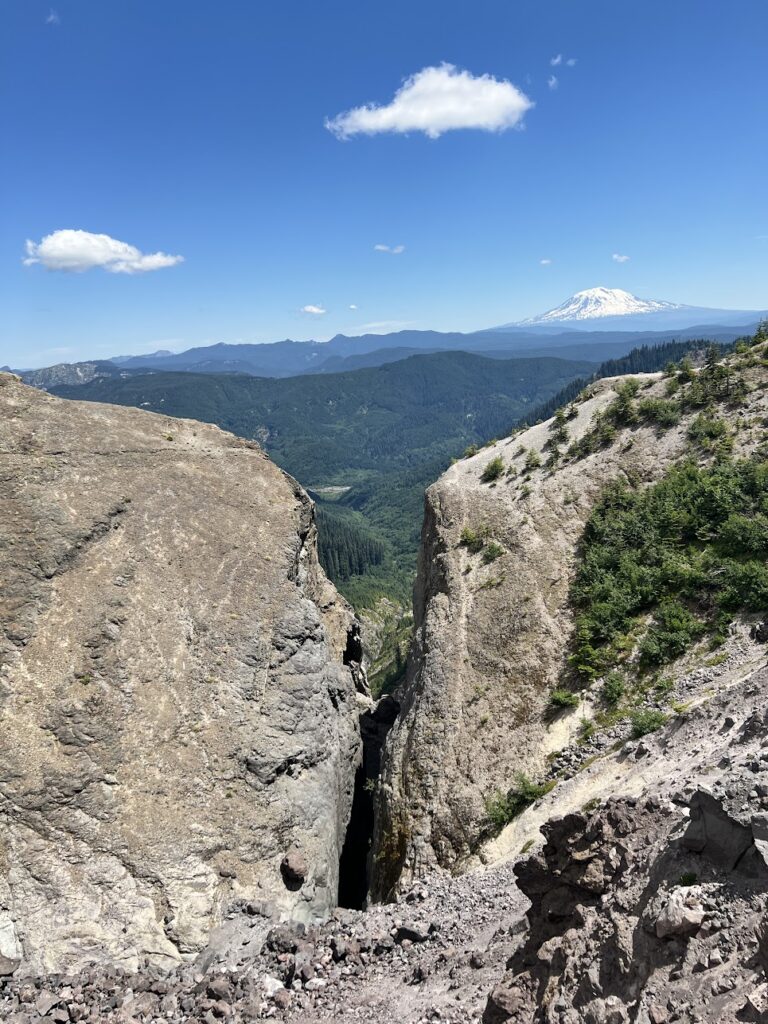
It’s at this point where you’ve just got the 5.5 miles back to your vehicle. We didn’t stop to take any photos, as the horse flies would eat us alive every time we stopped. We pressed on as quickly as we could, and we made our way to the vehicle.
Alternate Routes
2 days:
Start at June Lake trailhead, make your way counterclockwise to Toutle River (~21 miles). From Toutle, make your way back to June Lake. I did this in 2020, and highly recommend this because the boulder hopping takes just as much energy for half the mileage as the 21 miles the previous day.
3 days:
June Lake to Plains of Abraham. Plains to Toutle. Toutle to June Lake. June Lake trailhead is the shortest route into the loop.
Gear List
I would recommend going as light as possible during this route. I was carrying 12 pounds less than my hiking partner, and I struggled a lot less with the elevation gains than he did because of this. The route is quite sun-heavy with very minimal shade. Because of this, I would lean on the side of less insulation and more sun protection (meaning there’s most likely not a need for jackets, but more for a long sleeve sun shirt).
Meal Planning
I chose to bring between 2500 and 2800 calories per day, with a few extras. If you look at my free meal plan link, I can say that I ate everything I brought every day, plus on days 2 and 4 I ate the poptarts. I ended up with about 2.5 pounds of food remaining once I got home.
Conclusion
I would highly recommend circumnavigating Mt St Helens via the Loowit Loop. I love it so much, I’ve done it twice. It is shorter than Timberline or many others, but it’s got many challenges that you won’t find elsewhere, plus the views cannot be beat. It’s a tough route despite the relatively short distance, but I do believe it has something for everyone.